Showing posts with label DIY Inspiration. Show all posts

Tuesday, March 27, 2012

The Ribbon Gives it an Edge


During a recent trip to the textile market, I bought some ethnic-print wide ribbon. After seeing these pics, I am now wondering what to sew it on. I think this is a great idea to had something special to any piece of clothing, boys and girls. 


Photos via ONE / TWO

Monday, March 19, 2012

Cooking for the Small Kitchen: Fresh Tomato Cream Penne


I'm sure many of you are in my exact situation: you have little to no space to cook in your small kitchen and do not own much material either. Maybe you are unlucky enough not to have an oven, just like me. In fact, most kitchen in South East Asia do not include them. Heck, I don't even have an actual stove! But this does not stop us from cooking most days of the week. I love my home-cooked meals, be them mine or (especially) the bf's. I've done some research online to see what other people are doing to make the most out of their tiny kitchens. And I found interesting ideas, which inspired me to share some of my recipes or tricks with you. 

1. These pictures are not my best work, but bear with me as this is a learning process! :)
2. I do realize that the plates that came with the apartment are not the prettiest to photograph, but they will do for now. 


INGREDIENTS (for TWO): 
- 200 g of pasta 
- 3 big tomatoes
- Olive oil
- 2 garlic cloves
- 4 tablespoons of fresh cooking cream (or 15%)
- Ground nutmeg
- Salt
- Black peppercorns
- Parmiggiano Reggiano

This first recipe is very, very simple. And only requires a stove, a pot and a pan. I own an individual electric stove, as well as an induction cooker I use mostly to boil water or make stir-fries. I am a definite pasta lover, and this recipe adds just a little touch of special to your basic weekday penne dishes. 

Take a few fresh ripe tomatoes. Bring water to a boil, and put them in. Let them soak in the boiling water for a few minutes and carefully remove. Rinse them under cool water and peel off the skin. You'll see: it will come off like a charm! Them chop them into cubes. Let them simmer in a pan with olive oil and 2 cloves of garlic cut in half. Add salt and freshly ground black pepper. Let simmer for 10-15 minutes.

Taste. If your tomatoes are too acidic, put in a few pinches of sugar and mix. I often have this problem here is Asia, the tomatoes always seem to be way too acid to make a sauce. This little trick will cancel out the acid taste and make everything smoother. Add a few tablespoons of fresh cream (or 15%).  Or don't. I did, just to make something different from the usual.

Bring water to a boil, put in copious amounts of salt (sea salt is always better) and throw the pasta in. Follow the package instructions for the pasta. When ready, drain the pasta well and put it in the pan. Mix it in the sauce until everything is coated evenly. Distribute in the plates. Sprinkle ground nutmeg, more fresh black pepper and fine scales of Parmiggiano Reggiano. That's it! 


Photos by Dee & Duke (unfortunately). 

Thursday, March 8, 2012

Devil in the Details: DIY Wall Art + Weekend Reads


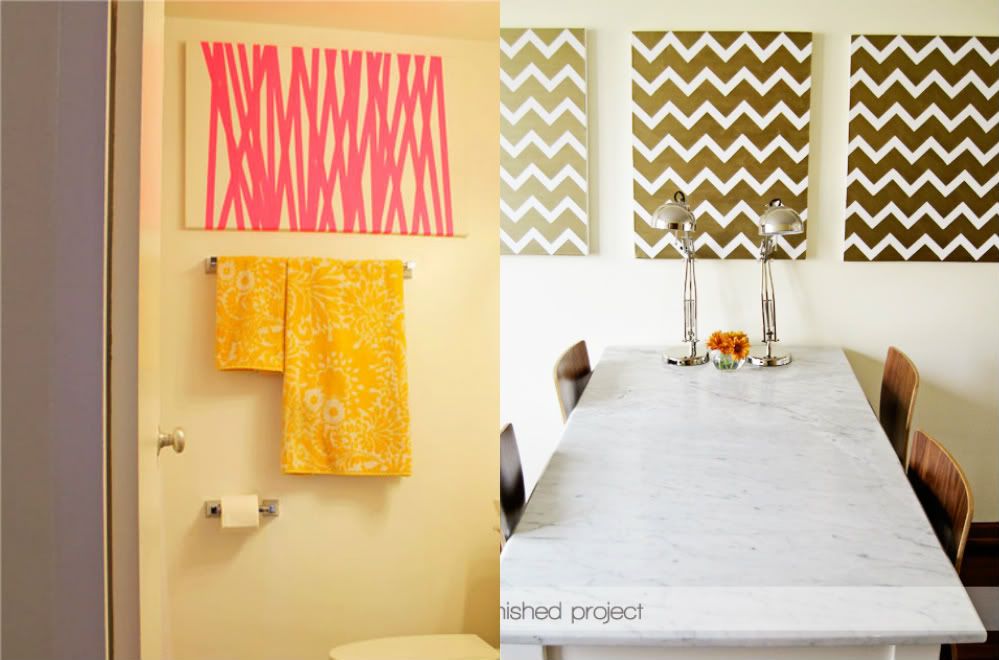
Have you given some thought to last Wednesday's post about injecting creativity into your life? Cause I know I have! While skimming over my Home inspiration folder (yes, just like mentioned in last week's Ways to Stay Creative - I'm not trying to overly self-promote posts by the way, I write about thoughts that also touches my day-to-day life, and so I end up repeating myself... Sorry. Back to what I was saying...), I re-discovered pictures from Jess Constable's house. She is an inspiring young entrepreneur and I loved her nifty thrifty ideas she had when decorating her Chicago apartment. I mean, the girl made her own wall art! And she's not an artist! 

Create art of your own by using blank canvases. The right picture is just pink duct tape on blank canvas, and the left one is a chevron pattern she copied online, pinned on canvas, painted bronze over it and removed. Easy! And I think it makes for a striking focal point in the room. Check out her tutorial here

Aaaaand here are some reads for the weekend: 


Enjoy!


Photos via. Edited by Dee & Duke. 

Tuesday, March 6, 2012

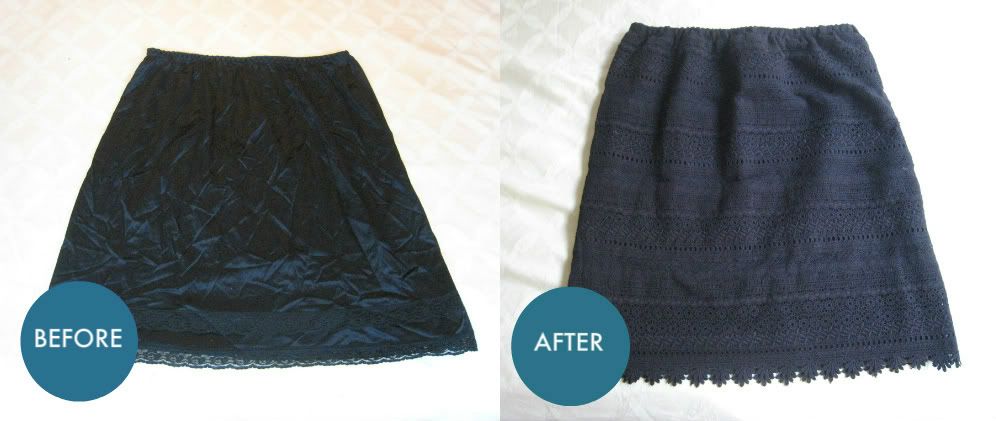
How to Repurpose a Vintage Slip into a Lace Skirt


So, first of all, excuse the quality of the pictures and the exaggeratedly wrinkled slip on the left. It had been thrown into a ball to the back of the closet. Oops!  Anyways, I am nonetheless proud to show you my first DIY project. Very easy, and a very efficient one at that!

You'll need: 
- Womens black slip (I used a vintage one, bought for 3$ at a charity shop)
- Black lace (depending on desired length, I took 2 meters and now have leftovers to use in future projects) 
- Thread and needle

Simply copy the slip's silhouette and create an outline for the skirt on the piece of fabric. Cut the necessary material. I made sure the elastic band would still fit well by rolling the fabric and therefore creating a large, thick band. It's very important to only sew below the elastic. Also, I kept the elastic tense during the sewing process to make sure I would not end up with a waist that was too tight for my body. And voilà!

I have a few other projects lined up and will show you in due time. Should you be interested, of course. 

Have you ever DIY'd an item? Do share! 


Photo by Dee & Duke. 

Sunday, February 26, 2012

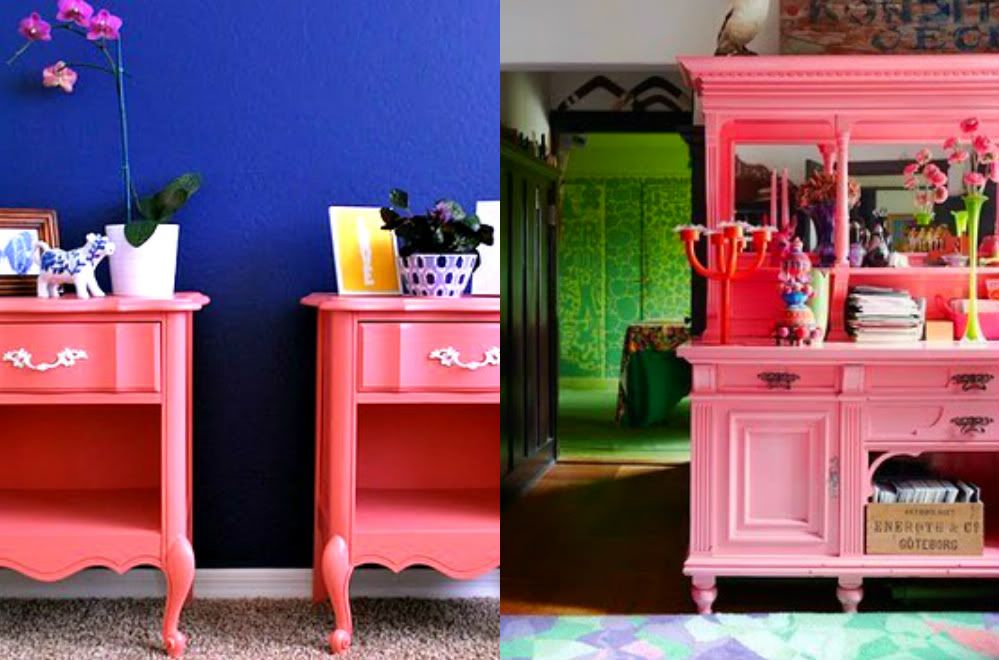
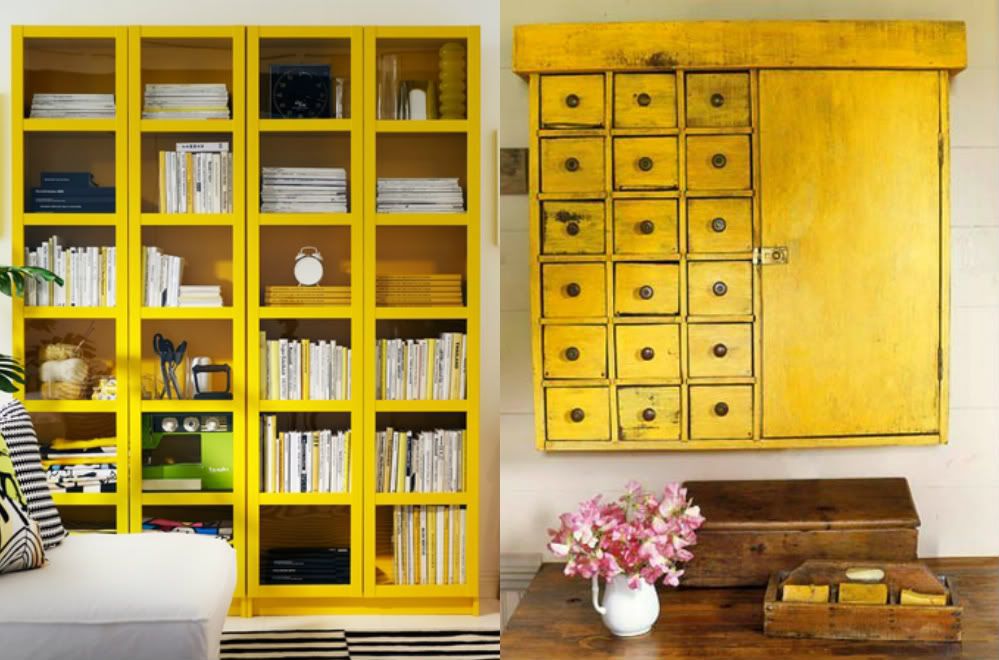
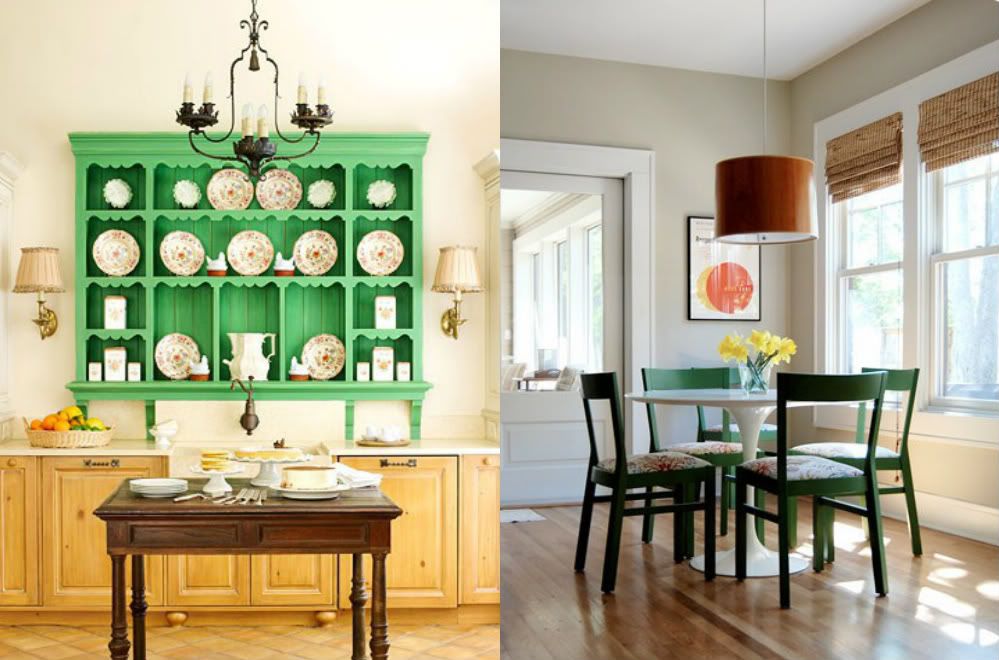
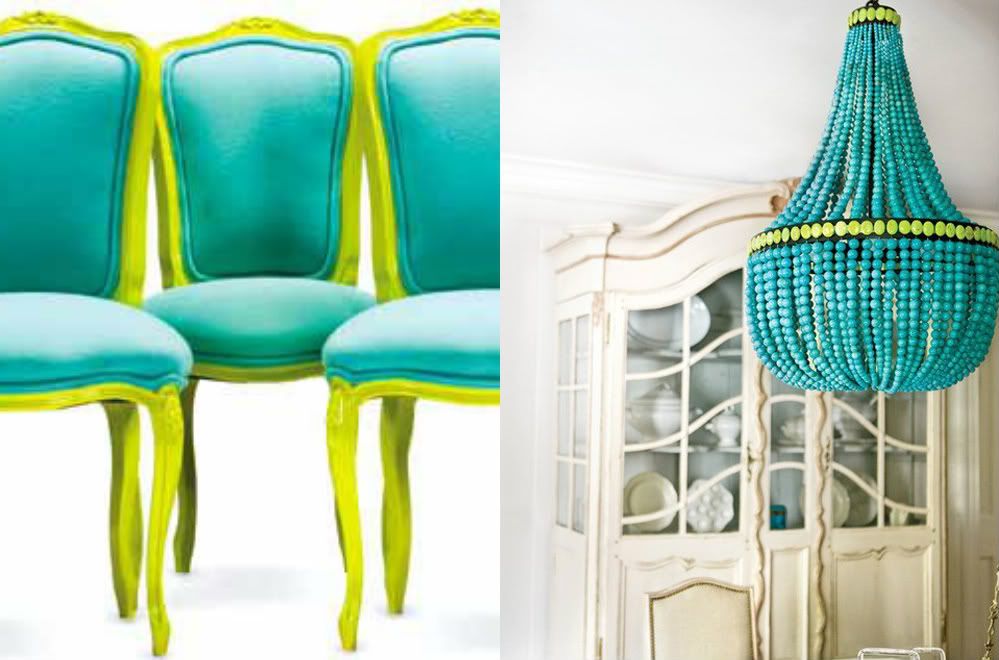
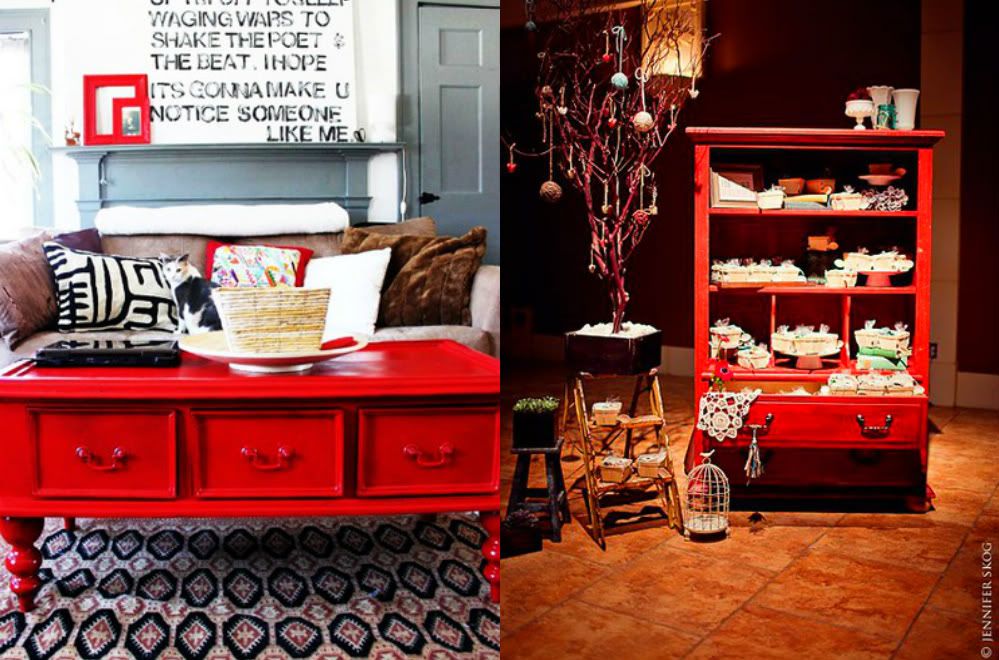
Create an Inspiring Interior with Bright Furniture


I think the best thing about this decor idea is that it really fits all wallet sizes. Any Grandma hand-me-down, or charity-shop find would look better with a few coats of bright paint. Or a chair found on the street. Or a plain-looking IKEA piece, to continue on the IKEA Hacks idea


What would you paint? And what color would you pick?


Photos via PINK LEFT - RIGHT / YELLOW LEFT - RIGHT / GREEN LEFT - RIGHT / AQUA LEFT - RIGHT / RED LEFT - RIGHT

Thursday, February 23, 2012

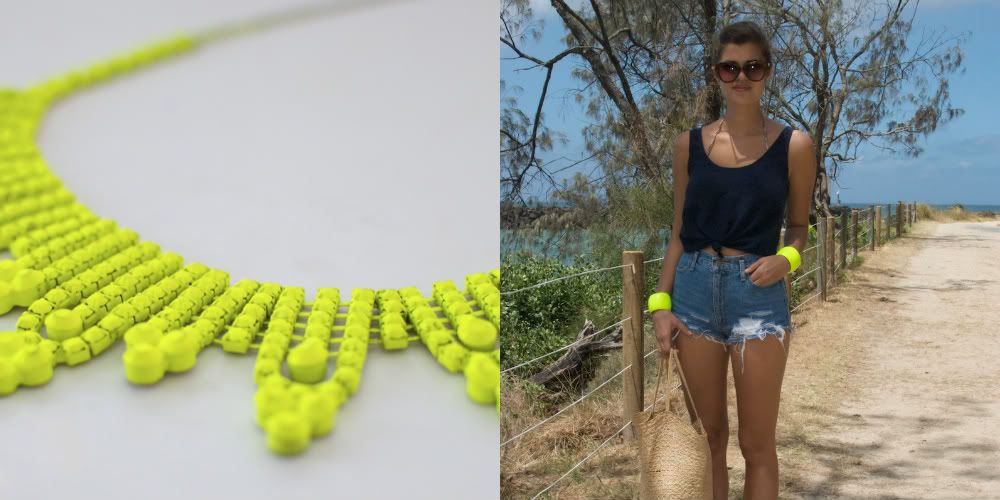
Devil in the Details: Splashes of Neon


These neon accessories were actually homemade. And in no time. Simply spray-paint a rhinestone necklace or wide bracelets with neon paint (or the color of your choice) and wear! Very easy project I plan on doing myself. To see all tutorials, head on over to this blog


This week, I see you off with the following noteworthy reads: 


Could you ever imagine travelling without planning online first? 


 Photos via. Edited by Dee & Duke. 

Monday, February 20, 2012

IKEA Hacks

I'm pretty sure we're all on a budget here. Well, I know I am. But one thing's for sure: we all love to be inspired anyways and want to be surrounded by beautiful things. Hence the problem when we need new furniture and have no choice but to turn to IKEA.

Don't get me wrong: I think they have some very stylish stuff (I love the Scandinavian aesthetics - I'm more on the minimalist side of things). But some pieces need a little help. Enter the so-called "IKEA hacks", where people add a little oomph to their Swedish pieces. 


I present you the IKEA MICKE. Jonathan from Happy Mundane bought contact paper at Home Depot, and added a touch of imitation walnut wood. It's mess-free and can be changed at any time.


This is the IKEA RAST dresser. Apartment Therapy declares it to be "ever popular with DIYers". Molly from mollymadfis removed the wooden knobs, repainted it, and added the brass corners and new handles, all bought at the local hardware store. I am loving the result. It reminds me of an heirloom trunk that would have been passed on from a grandmother, right? 

Do you feel handy enough to modify a mass-market piece of furniture? What would you do? 


Photos via. Edited by Dee & Duke.